Shower valve replacement
Updated 2026-09-04 · 10 min read
Cartridge or valve body
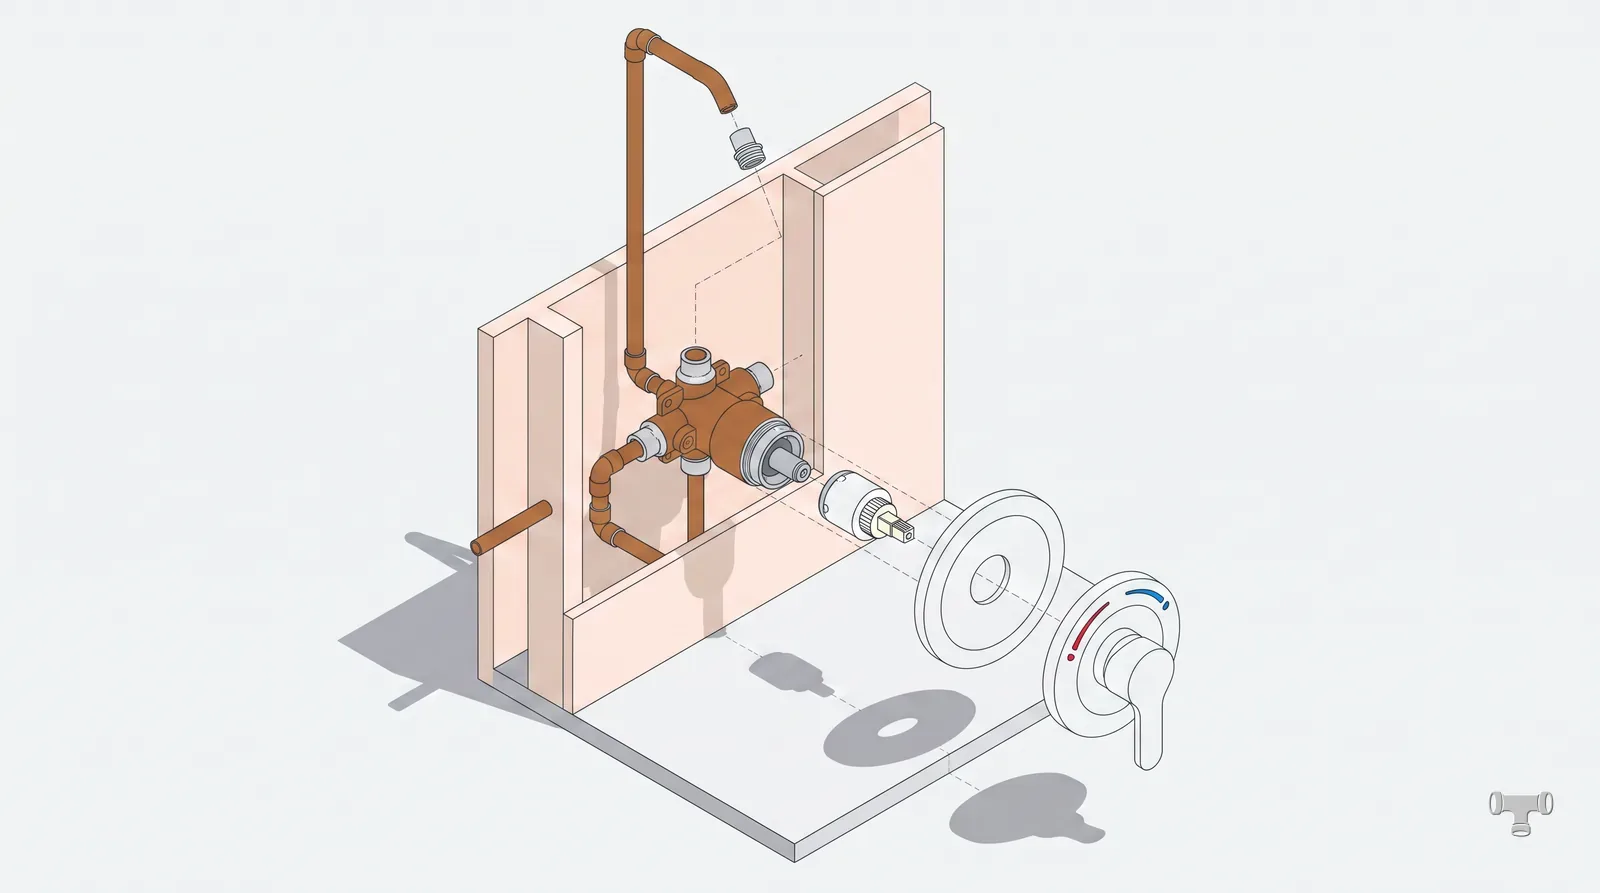
Two failures wear the same symptoms — a drip, a handle that turns oddly, temperature that wanders — and they have completely different prices. A worn cartridge is a part swap through the trim, an hour, no wall opened. A failed valve body is a soldered fitting behind tile.
| Symptom | Likely | Fix |
|---|---|---|
| Drips with the handle off | Cartridge seals | Cartridge, through the trim |
| Temperature wanders during a shower | Pressure-balance spool | Cartridge, through the trim |
| Handle stiff or gritty | Scale on the cartridge | Cartridge, or clean and grease |
| Will not reach hot | Rotational limit stop | Adjust the stop, no parts |
| Leaks behind the wall | Valve body or a joint | Open the wall |
| No pressure balance at all | Pre-1990s valve | Replace the body — code |
Try the limit stop first
Identify the valve before you buy anything
Cartridges are brand and family specific and they are not interchangeable. Pull the trim, photograph the cartridge and the valve body casting, and match it to the manufacturer's parts diagram. Many makers will supply a replacement cartridge under a lifetime warranty if you can name the model.
If the body carries no marking at all, it is old enough that the pressure-balance question below applies, and the honest answer is usually a new valve rather than a hunt for a part.
Replacing the cartridge
- 1
Water off and prove it
Stop valves if there are any, main if not. Open the shower and watch it stop.
- 2
Cover the drain
A retaining clip down the drain turns a one-hour job into a two-hour one.
- 3
Trim off, clip out
Handle, escutcheon, then the retaining clip or bonnet nut. Note the cartridge orientation before it moves — some go in only one way and reversed means hot on the wrong side.
- 4
Pull with the right tool
A seized cartridge needs the maker's puller. Levering on it with pliers is how the body gets damaged and the job becomes a wall opening.
- 5
Clean and grease
Scale out of the bore, silicone grease on the new O-rings. Never petroleum grease — it destroys the seals.
- 6
Test before the trim goes back
Water on, both temperatures, watch for weeping at the bonnet. Then reassemble.
When the body has to come out
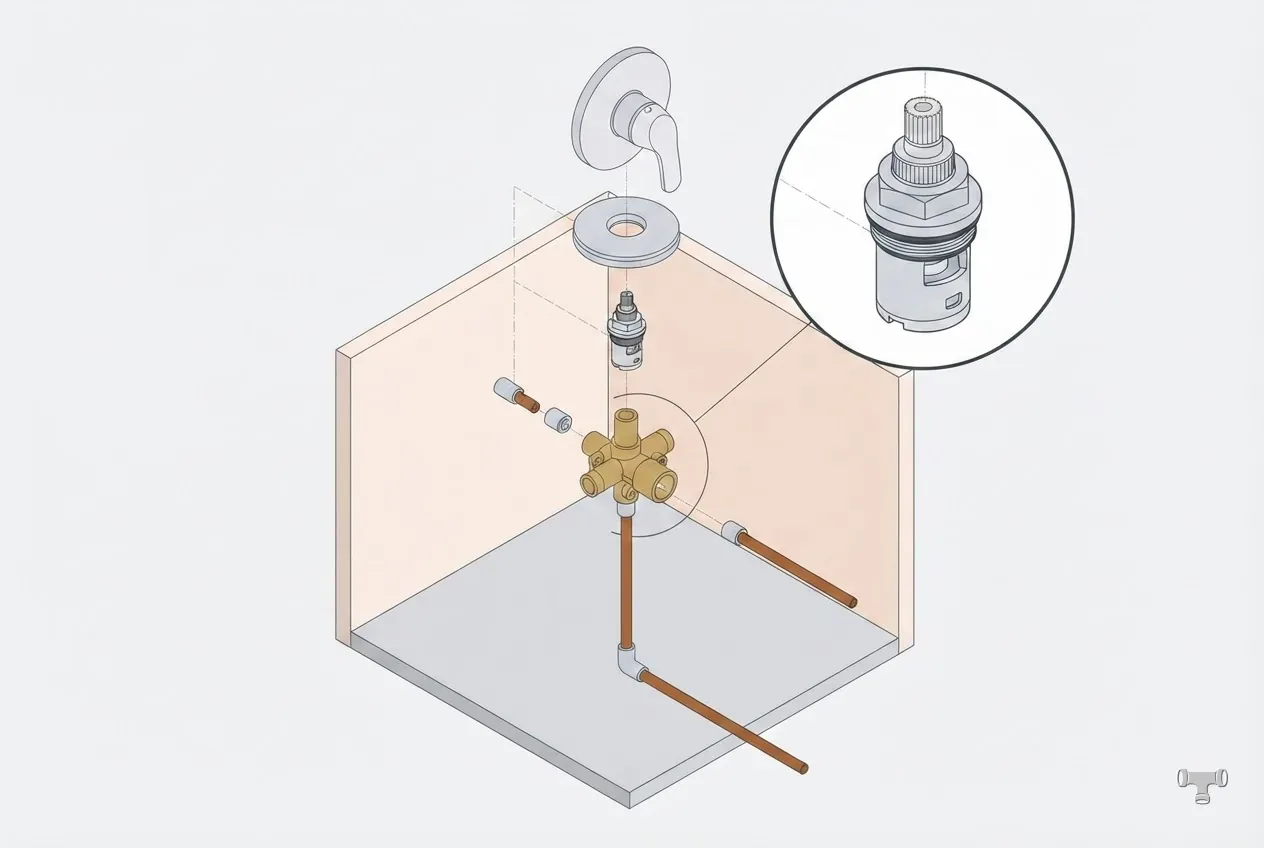
Access is the whole job. An access panel from the room behind is the cheap route and the one to look for first — cupboards and closets back onto showers more often than people check. Cutting tile is the expensive route, and matching discontinued tile afterwards is frequently impossible.
Budget for the finish, not the fitting. The valve is a modest part; the tile, the waterproofing behind it and the grout match are what the customer will judge the job on.
Anti-scald is not optional
Shower valves must be pressure-balancing, thermostatic or combination, and they must limit the outlet temperature. The requirement exists because a toilet flushing on the same cold branch used to drop the cold supply and deliver a scald.
The consequence on a repair: a pre-code valve cannot be brought into compliance with a cartridge. It is replaced. If you are opening the wall anyway, that decision is already made — and it is worth telling the customer plainly, because "the old one worked fine" is the objection every time.
Code violation